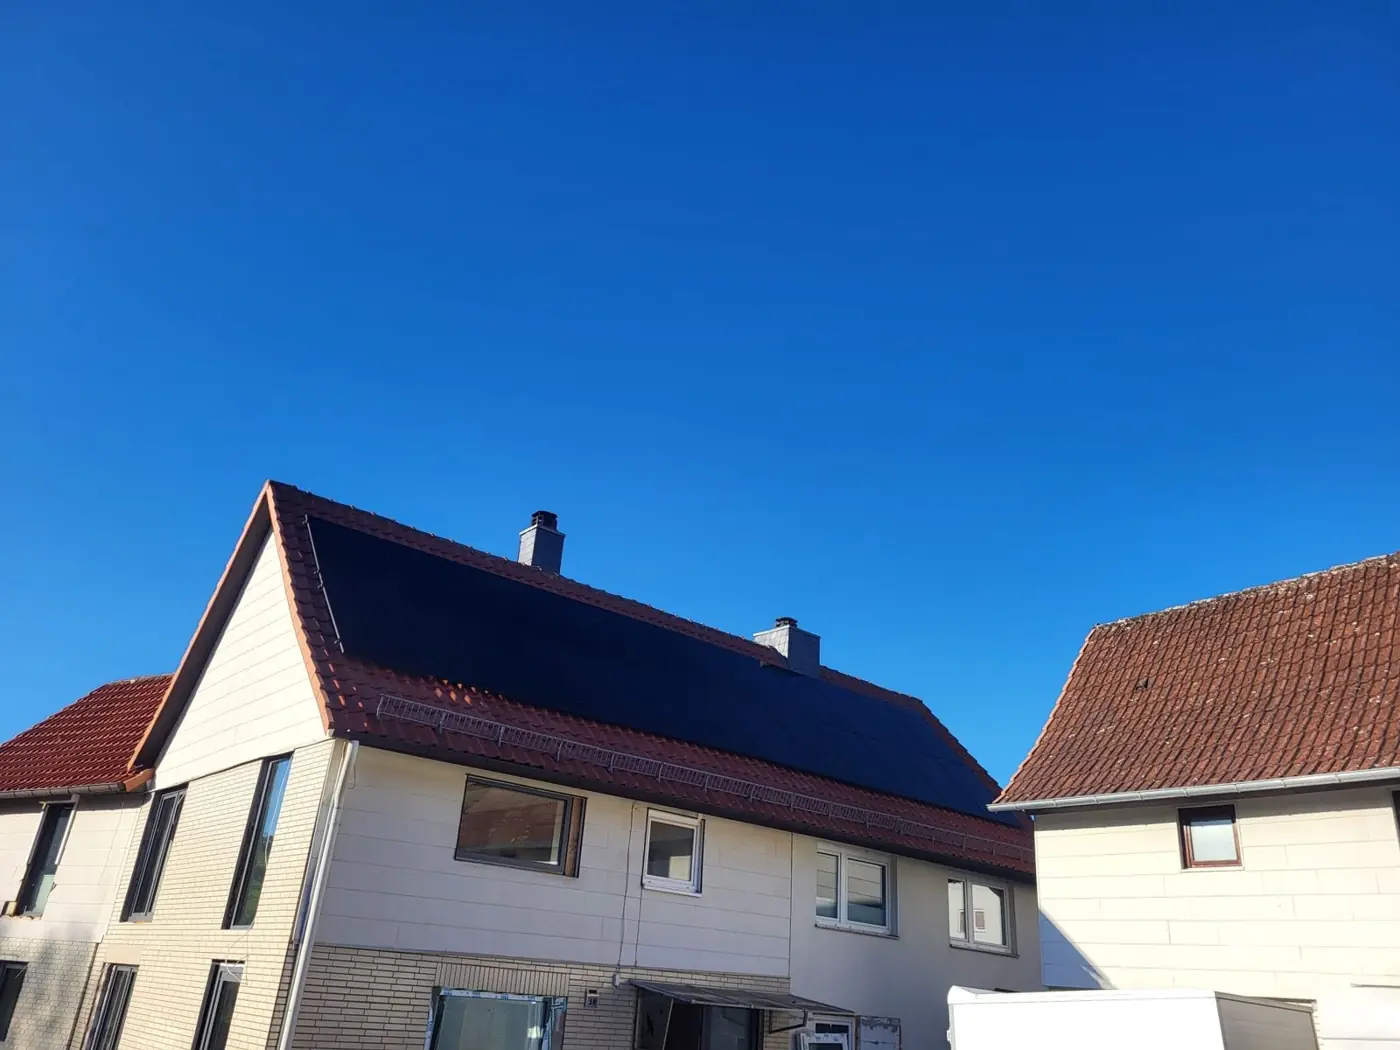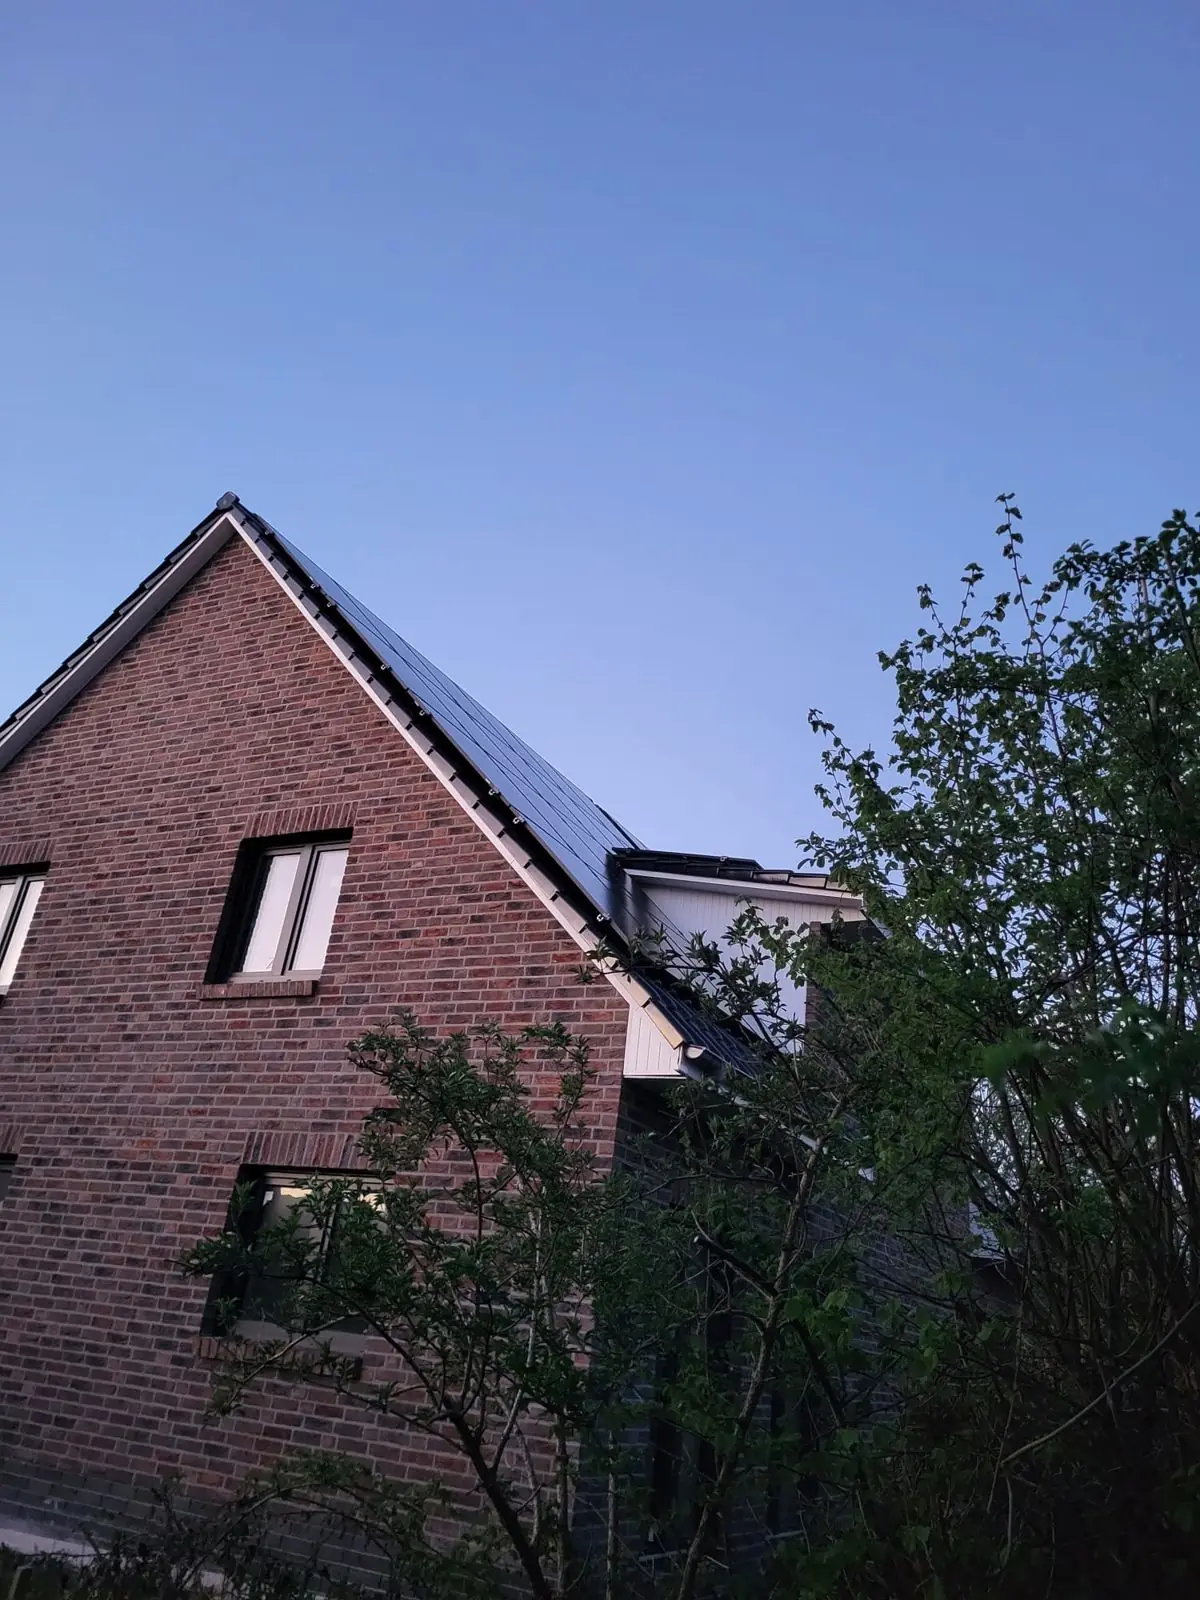
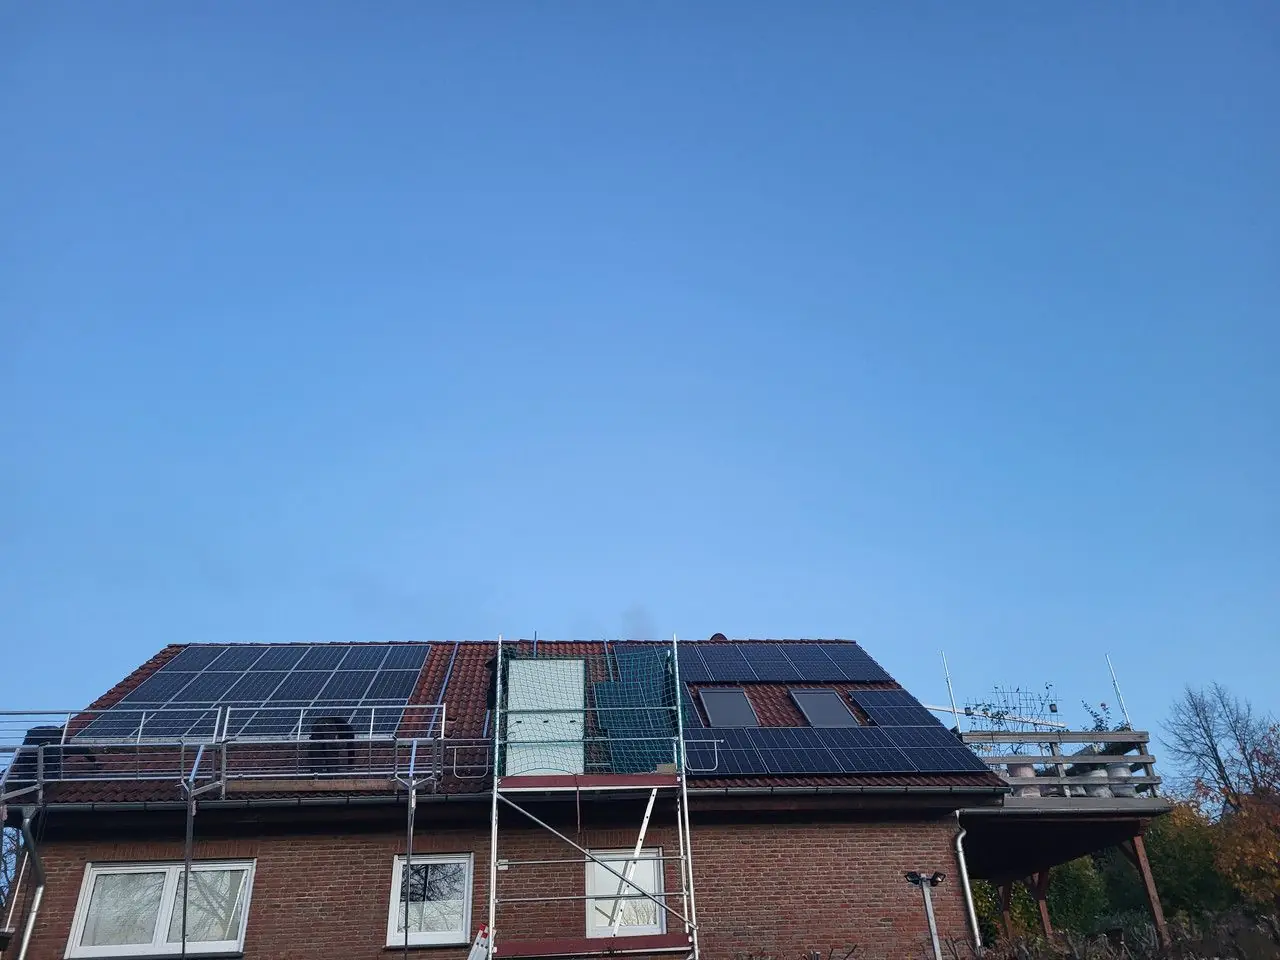
- From your first enquiry to a running system usually takes 4 to 8 weeks.
- The installation itself usually takes only 1 to 2 days for a single-family home.
- Registration with the grid operator and in the market master data register is mandatory – we handle it for you.
- You only need to prepare a little – you will find a checklist at the end.
You don’t buy a solar system every day. That is why many of our customers in Hardegsen and the surrounding area want to know in advance: What lies ahead? How long does it take? And what do I need to do myself? Here is the process step by step.
Step 1: Roof check and consultation
Everything starts with a conversation – by phone or at your home. We look at:
- Your roof: size, direction, pitch, condition and possible shade
- Your meter cabinet: is it suitable for a solar system?
- Your electricity use today and in the future, for example with an e-car or heat pump
The consultation is free and without obligation. If you like, enter a few key details in the roof check beforehand – then we can prepare the conversation properly.
Step 2: Quote and planning
Within a few days you receive a written fixed-price quote.
It states exactly which modules, inverter and battery will be installed, how the modules sit on your roof and how much electricity the system is expected to produce. You have time to decide calmly – without pressure.
Step 3: Registration with the grid operator
Before the system is connected to the grid, it must be registered with the local grid operator. It is a formality, but it takes some time.
There is a simplified procedure for smaller systems up to 30 kWp. We take care of the documents and keep you up to date.
The roof check takes 2 minutes and is the first step.
Step 4: Installation day
On the agreed date the installation begins. This is what happens:
- Scaffolding: usually put up the day before or in the morning.
- Modules: the mounting system is fixed to the roof, then the modules follow.
- Technology: inverter and battery are usually installed in the basement or utility room.
- Electrics: finally, everything is connected in the meter cabinet. The power is switched off briefly for this.
You don’t have to be at home the whole time. It is only important that we talk briefly in the morning and can get to the meter cabinet.
Step 5: Commissioning and registration
Once everything is connected, we put the system into operation and show you how the app works. There you can see at any time how much power your roof is producing.
- Meter replacement: your metering operator installs a new meter that measures electricity in both directions. This can take a few weeks.
- Marktstammdatenregister: every system must be registered with the Federal Network Agency within one month of commissioning.
Checklist: what you can prepare
With these documents everything goes faster:
- Your latest annual electricity bill
- Photos of the roof (ideally from different sides)
- A photo of the open meter cabinet
- If available: building plans or roof dimensions
- Your plans for the next few years: e-car, heat pump, roof renovation?
Tip: simply send us the photos via WhatsApp. That way we can often tell you what is possible before the first appointment.
Frequently asked questions about the process
Do I have to be at home on installation day?
Not the whole time. We need brief access to the house and meter cabinet in the morning, and at the end for the app introduction.
Do I need a building permit?
For solar systems on the roof of a residential building, usually not. There are exceptions, for example for listed buildings. We check this beforehand.
What happens in bad weather?
In storms, heavy rain or icy conditions we do not install, for safety reasons. We then reschedule at short notice and get in touch with you.
As of: November 2026. All prices are guide values including installation. Legal and tax information without guarantee – the laws in force apply (including UStG, EStG, EEG).